Vue.js is slowly becoming a very popular framework, and adding this skill to your resume might be interesting for your career. So if you are curious on how to start a Vue project with Vue CLI, please keep on reading.
Installing Vue
npm install -g @vue/cli
# OR
yarn global add @vue/cli
Initializing your project
First you will need to run the following command :
vue create first-projectYou can either choose preselected options with Vue 2 or Vue 3, or select "Manually select features"
If you choose a default option, the project will be created directly.
If you manually select features, Vue CLI will ask you a few more questions :
- Pick the features you need, from Typescript to Vuex or unit testing. You can also pick the Vue version you wish to work with.
- Select where you wish to store the configurations for your features.
- Indicate if you wish to save theses options as a preset for future projects.
Wait for the project to be created...
Once it is done, go to your project directory and run the following command to start your local development environment :
yarn serve
# OR
npm run serve
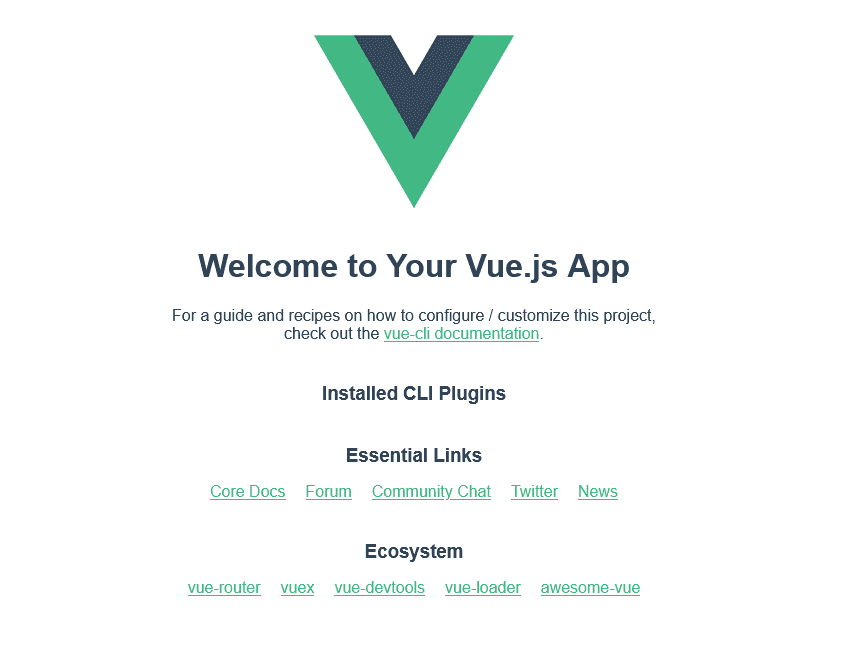
You can now go to http://localhost:8080/ and your website will show up !
Vue UI
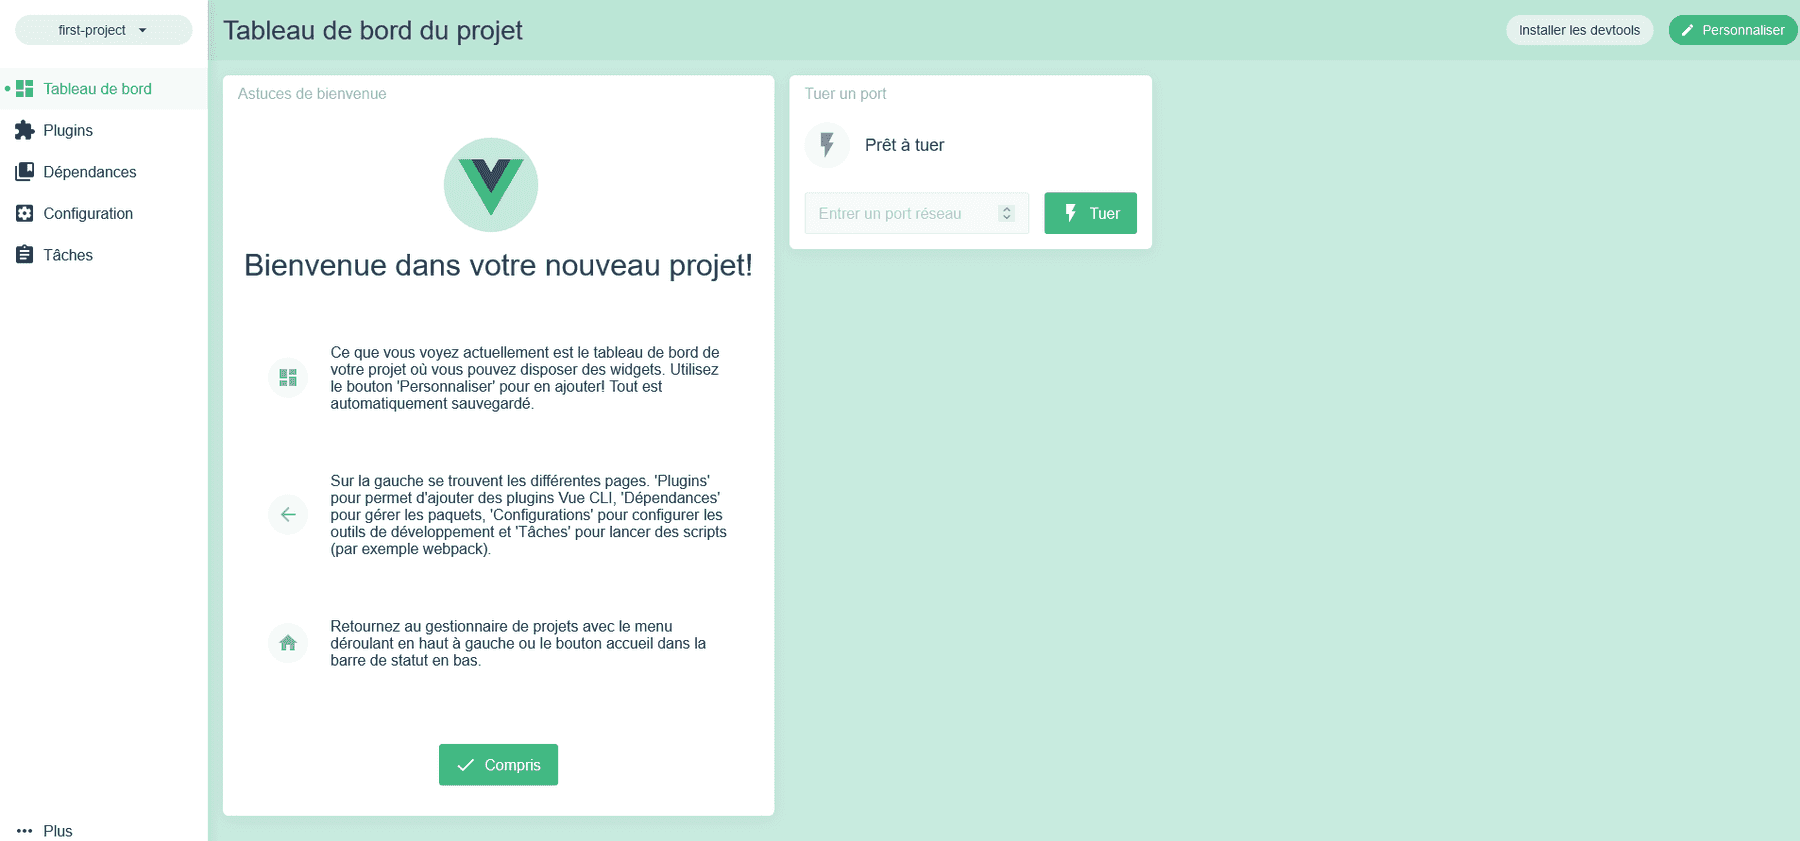
There is an option that provides you an interface to create new projects, and manage all the Vue projects stored on you machine.
You can try it by using the command :
vue uiWith this dashboard, you can add new plugins, devDependencies or run scripts !
Conclusion
Don't hesitate to ask questions or leave a comment if this article helped you !
Happy coding ! 👋


